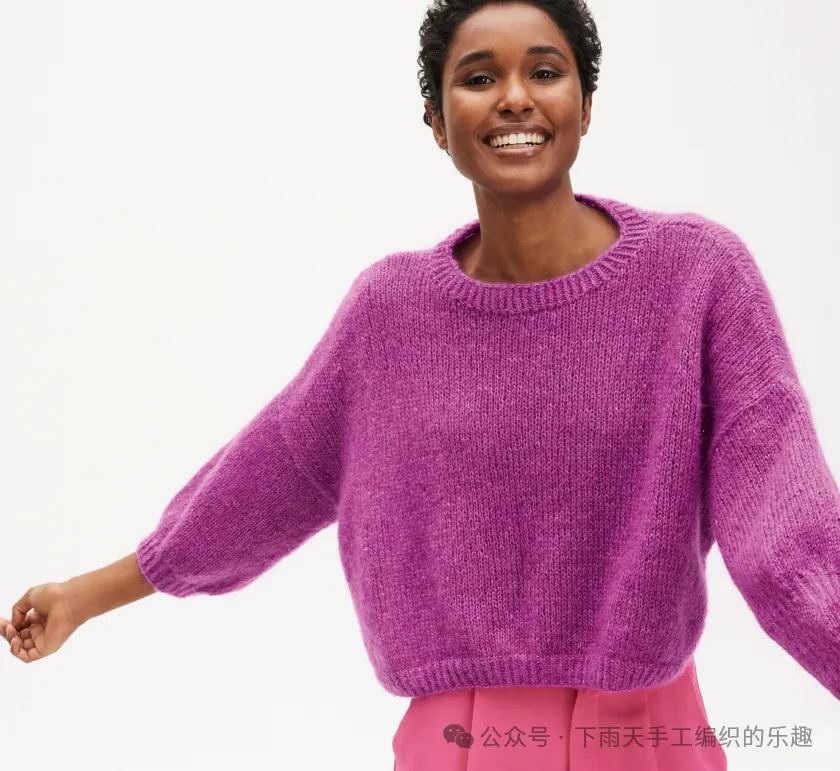
A basic knit sweater that is easy to make and versatile for both beginners and experienced knitters. It is recommended to choose high-quality yarn to enhance the texture. AI translation tutorial with slightly different common phrases is recommended to be bookmarked. Don’t forget to like it! Click on the image to enlarge. If you like this style, leave a ‘Like’ to let me see!
FILATI NO. 68 Sweater Model 26 Pullover · Superkid Seta Size: 42/44 (46/48 – 50/52 – 54/56 – 58/60)
Finally, every other row, decrease stitches 0 (0 – 0 – 0 – 2) times on each side, 10 stitches each time. Finally, close the remaining 38 stitches for the neckline.
Front piece: The knitting method is the same as the back piece. But at the neckline, starting from the underarm mark, knit 18 (20 – 22 – 24 – 26) cm upwards, then close the middle 14 stitches to form a deep V-neck. Knit the two sides separately to complete the curve of the neckline: every other row, decrease stitches 1 time on each side, 3 stitches each time. Then, every other row, decrease stitches 3 times on each side, 2 stitches each time. After that, every other row, decrease stitches 3 times on each side, 1 stitch each time. At the same time, start dealing with the shoulder slope after knitting 3 cm upwards from the neckline, using the same method as the back piece. Sleeves: Cast on 52 (56 – 60 – 64 – 68) stitches with size 4 needles. Knit 4 cm of ribbing. Then change to size 5 needles and knit plain stitches. In the first row, evenly increase 18 (20 – 22 – 24 – 26) stitches to make the total number of stitches reach 70 (76 – 82 – 88 – 94). Start from the ribbing part and knit 23 cm upwards, then close all the stitches. Assembly: Sew the shoulder, side and sleeve seams. Cast on 118 stitches at the neckline with size 4 circular needles. Knit 1 round of purl stitches. Then continue to knit ribbing until it reaches 2.5 cm, then combine every 2 stitches into 1 stitch (using the right cross method) and close these stitches immediately. Sew the sleeves to the armholes. Sample making tips: Make a 12 cm x 12 cm sample to ensure that the knitting density meets the requirements. Count the number of stitches and rows in a 10 cm x 10 cm area. If the number of stitches is less than required, you can try knitting more tightly or using needles half a size smaller. If the number of stitches is more than required, you can try knitting more loosely or using needles half a size larger. Please note that different knitting methods will result in different effects, so it is recommended to make a sample according to the selected pattern to ensure that the finished product is both beautiful and fitting.

