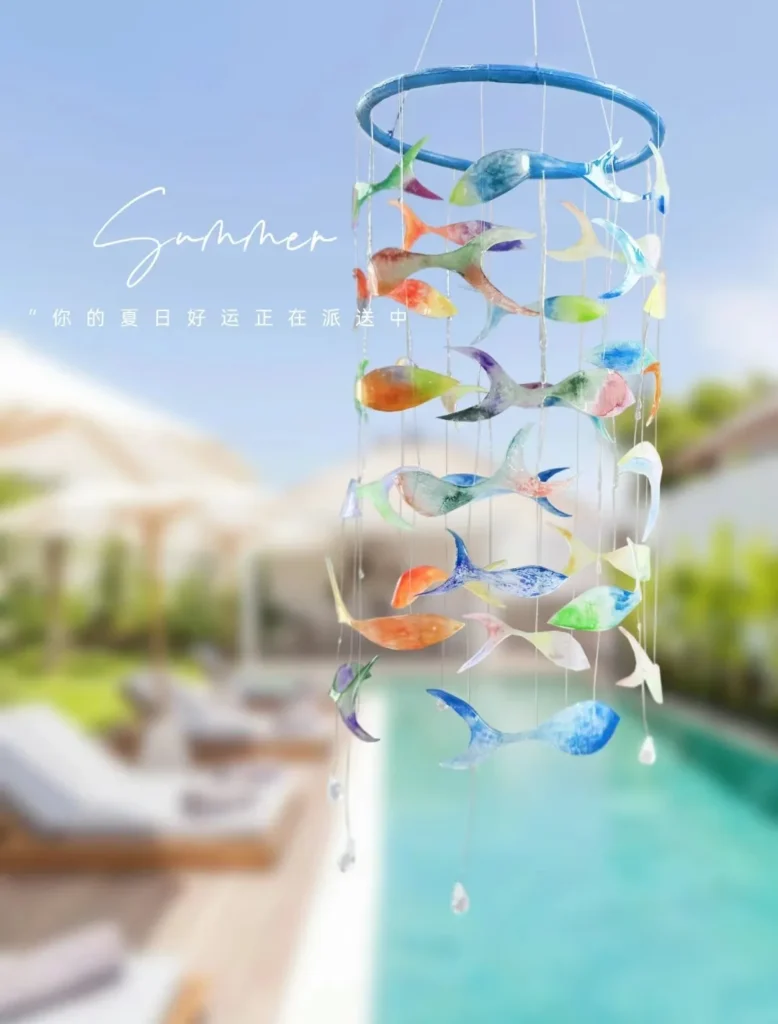
Feel the summer heat with a gentle breeze that’s hard to notice? Why not create a DIY wind chime to hang in front of your house? As the wind gently brushes past, the chime will sway, signaling the wind’s presence. Although it may not have any practical cooling effect, it’s a nice way to soothe the soul and decorate your room.
Part 01 DIY Shrink Film Wind Chimes
Materials and Tools: Shrink film, colored pencils, acrylic markers, watercolor paints, heat gun, UV glue, UV light, hole puncher, fishing line, glue, plastic rings, scissors, brushes
1. First, sketch the shape of a fish on the shrink film with a pencil and cut it out with scissors.
2. Then, color it with colored pencils/acrylic markers/watercolor paints. Different coloring materials will yield different effects, so feel free to try them all and choose according to your preference.
3. After the colors dry, use the heat gun to slightly shape the film. Be mindful of the temperature to avoid burns.
4. Finally, punch holes, thread fishing line through, and hang on plastic rings. (PS: For a jingly effect, attach a small bell at the end.)
5. For a more realistic look, apply a bit of UV glue on the fishing line to simulate water droplets.
Part 02 DIY Dopamine Wind Chimes
Materials and Tools: Transparent plastic box, acrylic markers, scissors, fishing line, glue gun, needle, ring
1. Start by cutting the transparent plastic box into small square pieces with scissors. (PS: Other shapes can also be used.)
2. Then, use colored acrylic markers to draw various patterns on them.
3. Finally, use a needle to thread fishing line through the pieces and hang them on a ring. This can also be made into a door curtain decoration.
Part 03 DIY Paper Cutting Wind Chimes
Materials and Tools: Colored cardstock, scissors, round stick, white glue, cotton rope, ring
1. First, cut out shapes of leaves, flower centers, and petals with scissors, then cut a strip about 1CM wide and make notches with scissors. Roll it up to form the flower center.
2. Next, use a round stick to curl the petals and arrange them orderly, glue them together, attach the leaves under the flowers, and stick on the flower centers. A flower is now DIY ready.
3. Using the same principle, create several different sizes of flower types.
4. Finally, glue the flowers onto the cotton rope and hang them on a ring. You can also decorate the ring with flowers and leaves for a more beautiful look.